4 Steps to Removing Your Kitchen’s Tile Backsplash
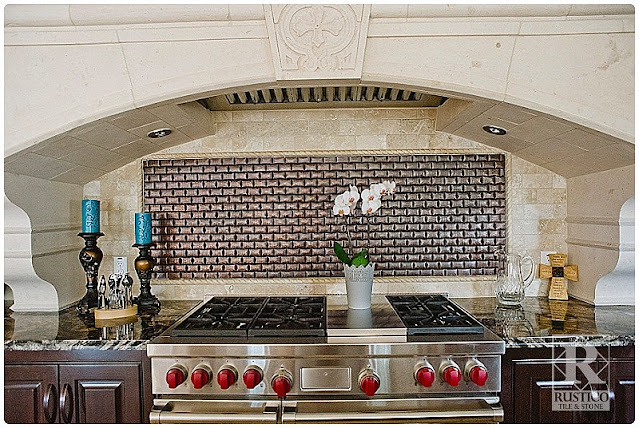
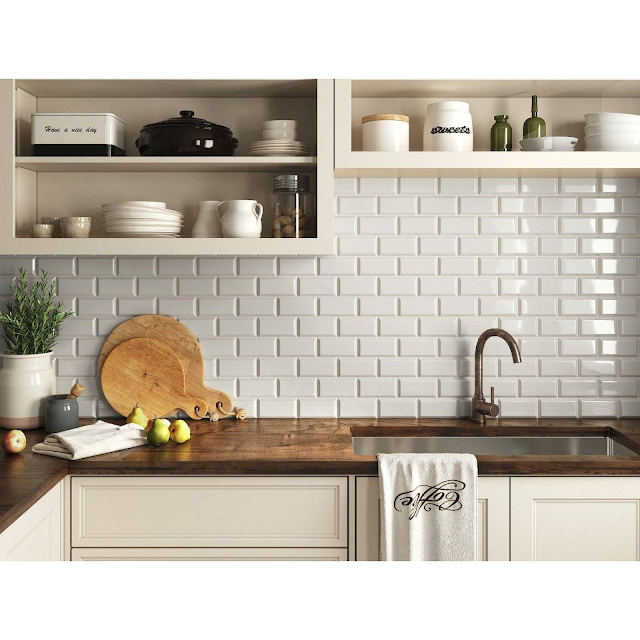
Modern kitchens and classic backsplash expressed on the walls are their forms of supreme luxury. Backsplashes are a must-have element in your kitchen that is not the only continent but also gives your kitchen a pop of color. Many people purchase modern kitchen wall tiles and install them through DIY methods to keep an easy hand of the budget and improve creativity. Transforming your home from time to time puts a good impact on the mind and mood. The steps to remove one backsplash to swap with another layout are easier than you think! All you have to follow are the basic four steps mentioned below.
Get your Tools and Techniques
Assemble everything you need, which includes:
Super sharp blade or cutter
Scraper
Towel or sheet
Hammer
Place the towel beneath the tiles you want to remove to prevent hazardous particles to make a mess on the floor.
Start With the Grouting
Use your blade cutter and start lining your grout. It is strong and it will not come off that easy. Remain patient and keep using your force to cut out the grout between every tile. Grouting is the element that keeps the layout of the tile together. You need to break the bond between the tiles, so the scraper gets in next.
Place the Scraper and Hammer It
Simply fit your scraper behind the first tile and hammer the handle of the scraper so the tool scrapes off the adhesive glue of the tile. You need to break the cohesive forces between the sheetrock and the tile. Sheetrock is a layer that adheres to the wall to protect the wall and direct contact with the superglue of the tile. Sheetrock is a strong solid surface right behind the tile layout. Place the scraper, hammer it and the tile pops off with a little force. Since you have already gotten rid of grout lines from the blade earlier, it becomes easy to work on scrapping the tiles off. Once you start getting the technique, you can scrape off all the tiles.
Advice: Gently hammer the scraper, you do not want the tiles to break, or else it will take more time and energy. The layer of super glue of the tile will not be removed without a scraper that easily. You need the correct tools and techniques for this case.
The Sheetrock and the Remains
Once you have successfully removed all the tiles, it is time for cleaning the remains that stick to the wall. Use a scraper to scrape off the excess glue and grout. Use a blade if the pieces are rigid. Then sandpaper will come in handy to smooth out the surface. Clean the sheetrock with a clean cloth. Wipe the wall neat.
The Bottom Line
The choice is yours whether you want to uninstall the sheetrock and remove the tiles permanently or you want to install brand new tiles for your backsplash. It takes time and patience to work with tiles on DIY methods though.


Comments
Post a Comment